
Quick Menu Setup:

I use the Quick menu primarily for changing what film simulation I’m using. You’ll want to set up your Custom Settings in EDIT/SAVE CUSTOM SETTING. I have 3 Custom Settings. One for Pro Neg, one for Acros G, and one for Provia/Standard. Each one has the jpeg simulation settings that I like.
BE SURE TO TURN NOISE REDUCTION ALL THE WAY TO THE NEGATIVE IN YOUR FILM SIMS.
The top left setting allows me to quickly roll through my film sims and I can be reminded of which is which because I keep the film sim setting in the Q menu. The other settings in here are things that aren’t changed as often as things that are assigned to their own buttons but I still don’t want to dive into menus for.
My Menu Setup:

The My Menu is very important to me because it gives me access to 2 buried menu items that are very important and the My Menu comes up immediately when you press the Menu/OK button.
ISO AUTO SETTING - I have these set up based on focal length that I’m using. They all have ISO Base 200 and ISO Limit 12800 but the shutter speeds are 1/125, 1/250, and 1/500. Auto ISO is very useful on this camera (unlike on most DSLRs) because of the electronic viewfinder that lets you preview the exposure. I use 1/125 for the 23mm, 1/250, for the 56/50mm, and 1/500 for the 50-140mm. It lets me focus on composition and light instead of technical settings.
PREVIEW EXP.WB IN MANUAL MODE - This one drives people crazy when they first use an EVF and try to shoot with flash. One of the best things about a mirrorless camera is the ability to preview exposure before shooting. This becomes an issue when you’re shooting in low light and augmenting with flash because you won’t be able to see anything. The solution is this setting. When shooting in the dark with flash, simply change this setting to Off. When this is off, You will have to chimp like on any DSLR. Be sure to turn this setting back on when not shooting flash.
Auto Focus:

Pre-AF and the AF illuminator will kill your battery and not do much so I turn them off.
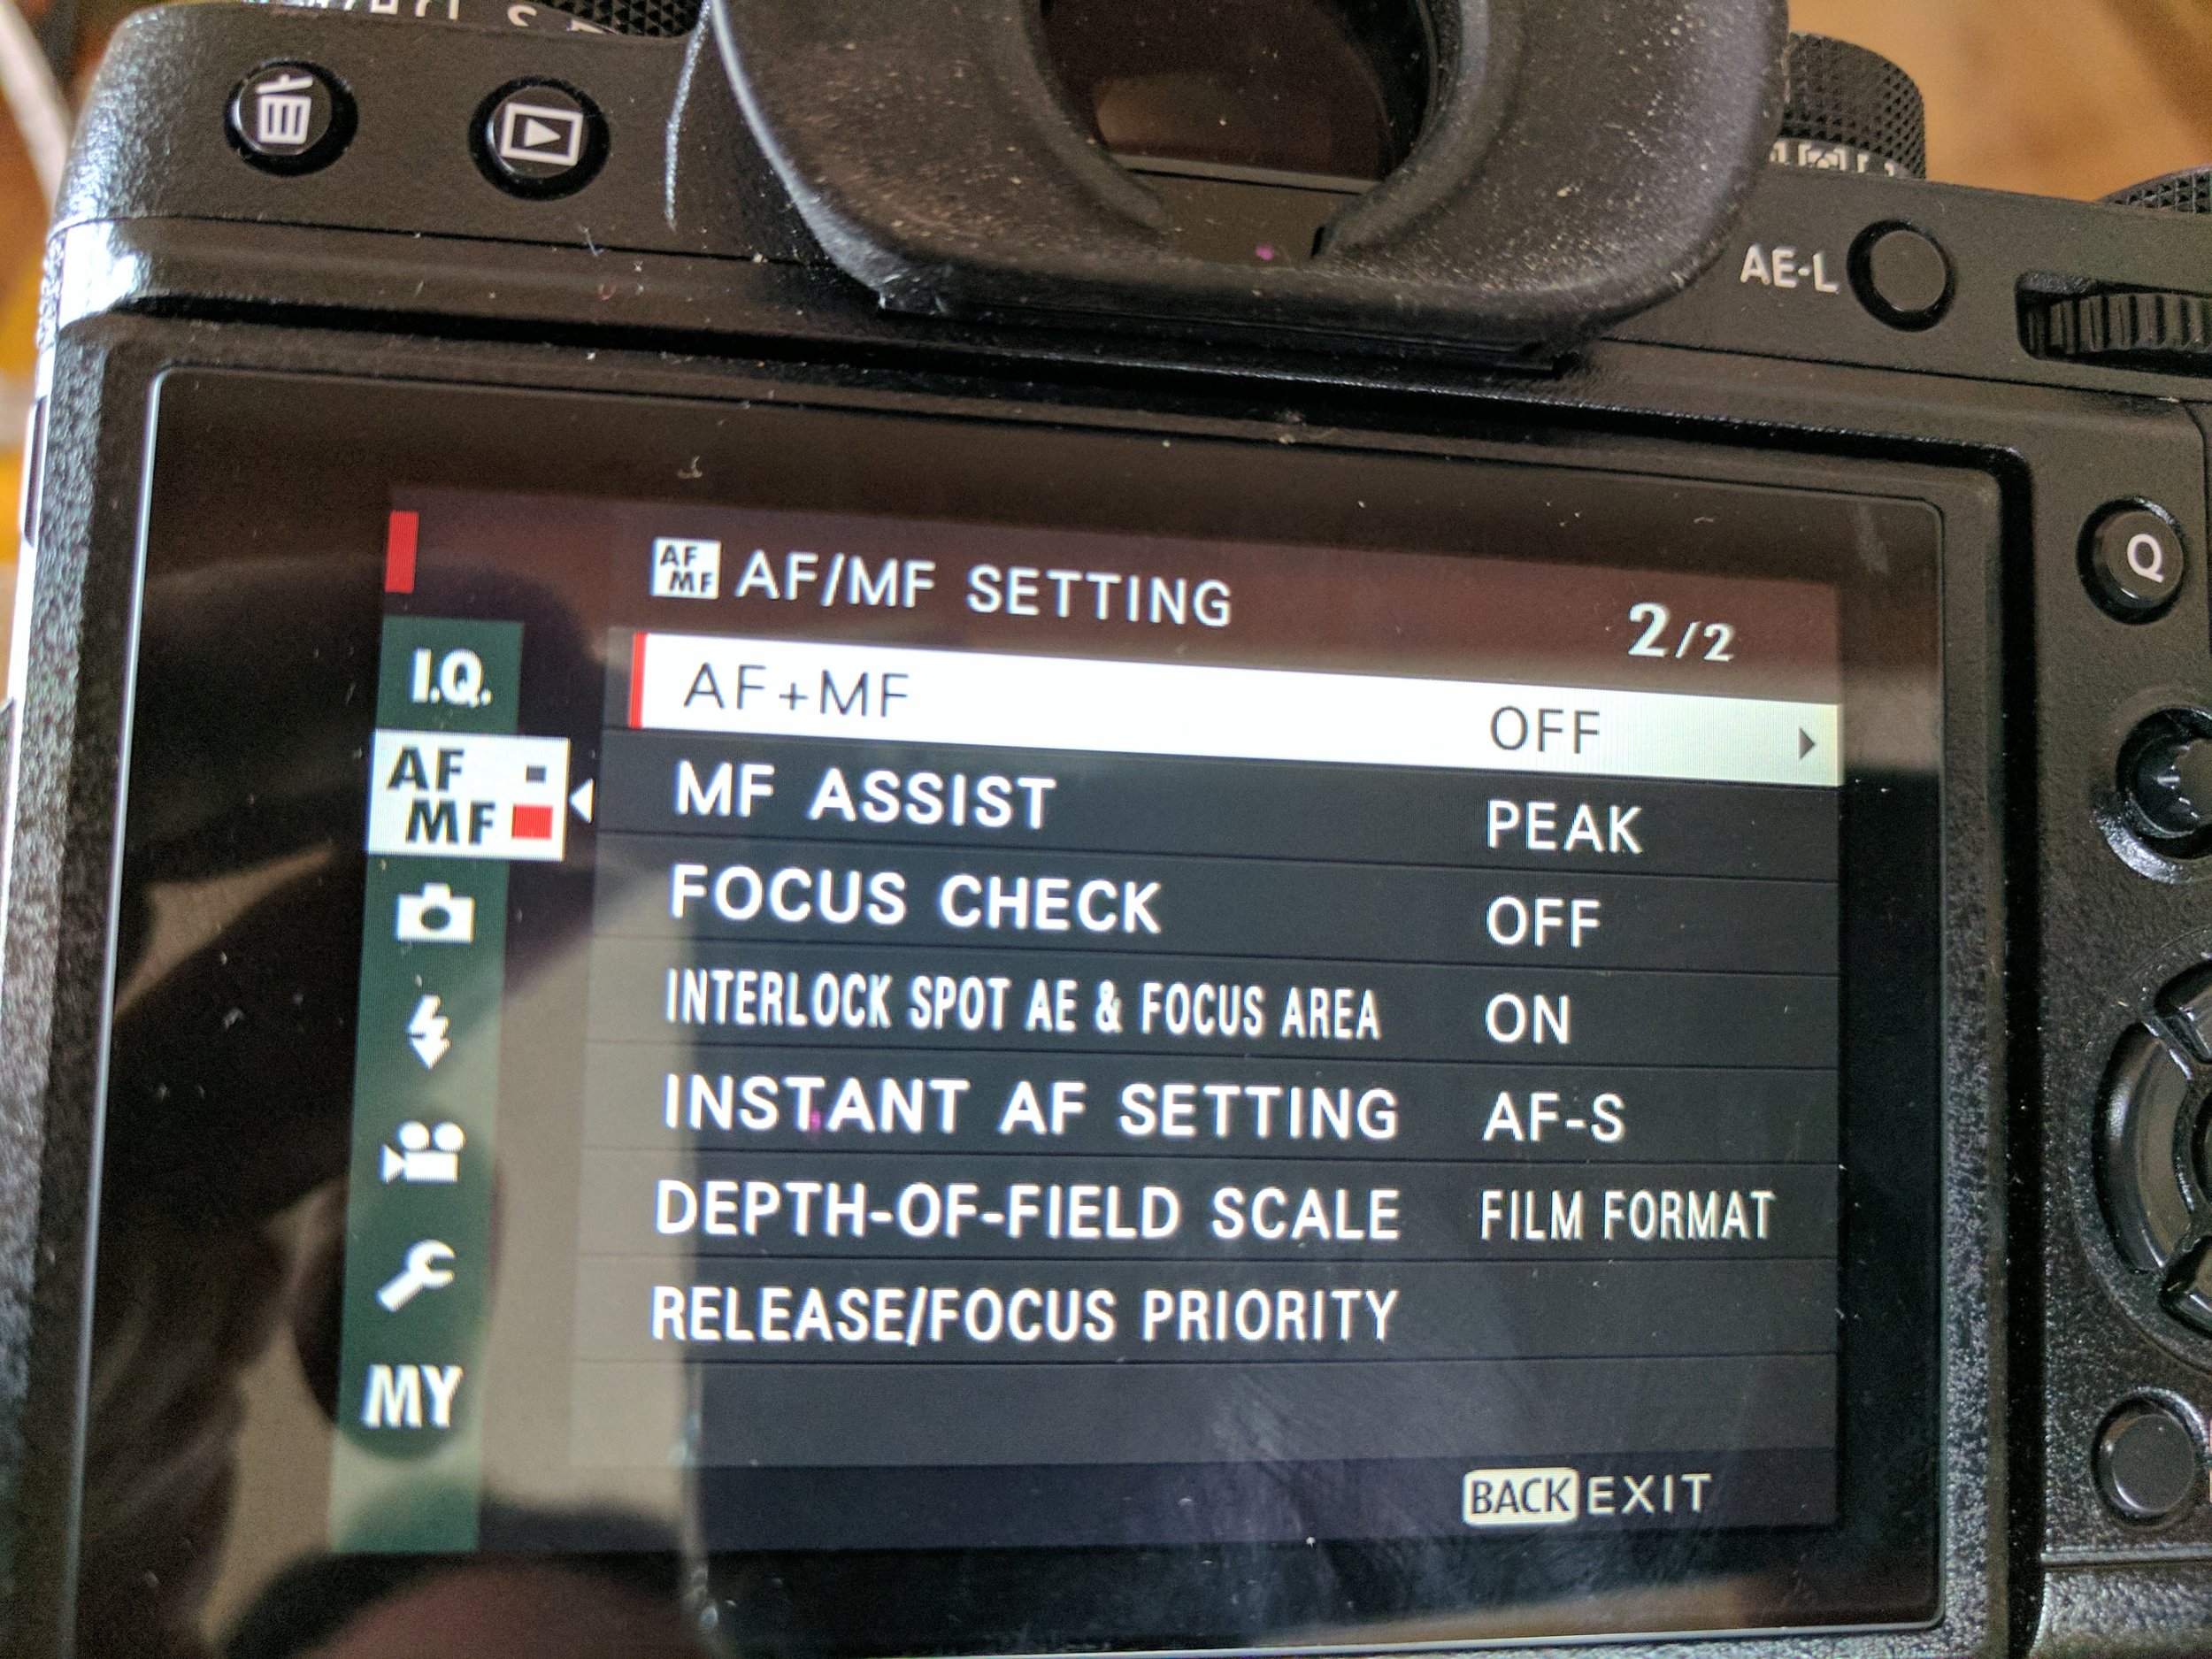
DEPTH-OF-FIELD SCALE - this one is important for using Zone Focusing manual focus technique. By default, it is set for pixel basis and that is way too narrow of a field of focus. Film format shows you the field of sharpness when looking at a printed photo. Because of the lack of a IR AF illuminator with mirrorless cameras, I use the zone focusing method for dance photos and set my aperture to f6.3 or so and prefocus to 3 feet. This gives me a nice, deep zone of sharpness that lets me shoot without using AF.
RELEASE/FOCUS PRIORITY - Set to release unless you are in a studio environment and sharpness is more important than capturing the moment.
BACK BUTTON AUTOFOCUS - I’ve always been a proponent of back button auto focus because I don’t want to worry about missing a moment because the camera is trying to focus. By separating AF and Shutter, you don’t have to worry about this. There are two settings needed to change to make this work on the X-T2.

In the Button/Dial settings, change AE-L and AF-L to AF-ON. I find my thumb has easier access to the AE-L button but I like having both available if I’m holding the camera differently.

Turn OFF SHUTTER AF.
AUTO FOCUS TIPS:
- The AF-C Custom Settings have a pretty big impact of continuous auto focus performance. Match the mode to the subject. Setting 2 works well for me in a lot of situations.
- The size of the AF box can and should be changed depending on scenario. The smallest box is the most accurate but also the slowest. I find the second to smallest box to be useful in most scenarios.
- For AF-C, I tend to use the Zone AF mode and cover my subject with it.
- Be sure to enable BOOST mode in power management settings or your AF and wakeup times will suffer.
- Don’t ask me why, but the continuous AF performance is vastly improved when shooting in CH drive mode. If you’re shooting movement, I’d suggest combining these two modes.
Screen Settings:

The AUTO EVF BRIGHTNESS setting generally results in too bright of a preview. I use -1 and find my exposures more consistent.
Set the FOCUS SCALE UNITS to ft for using the manual focus scale.
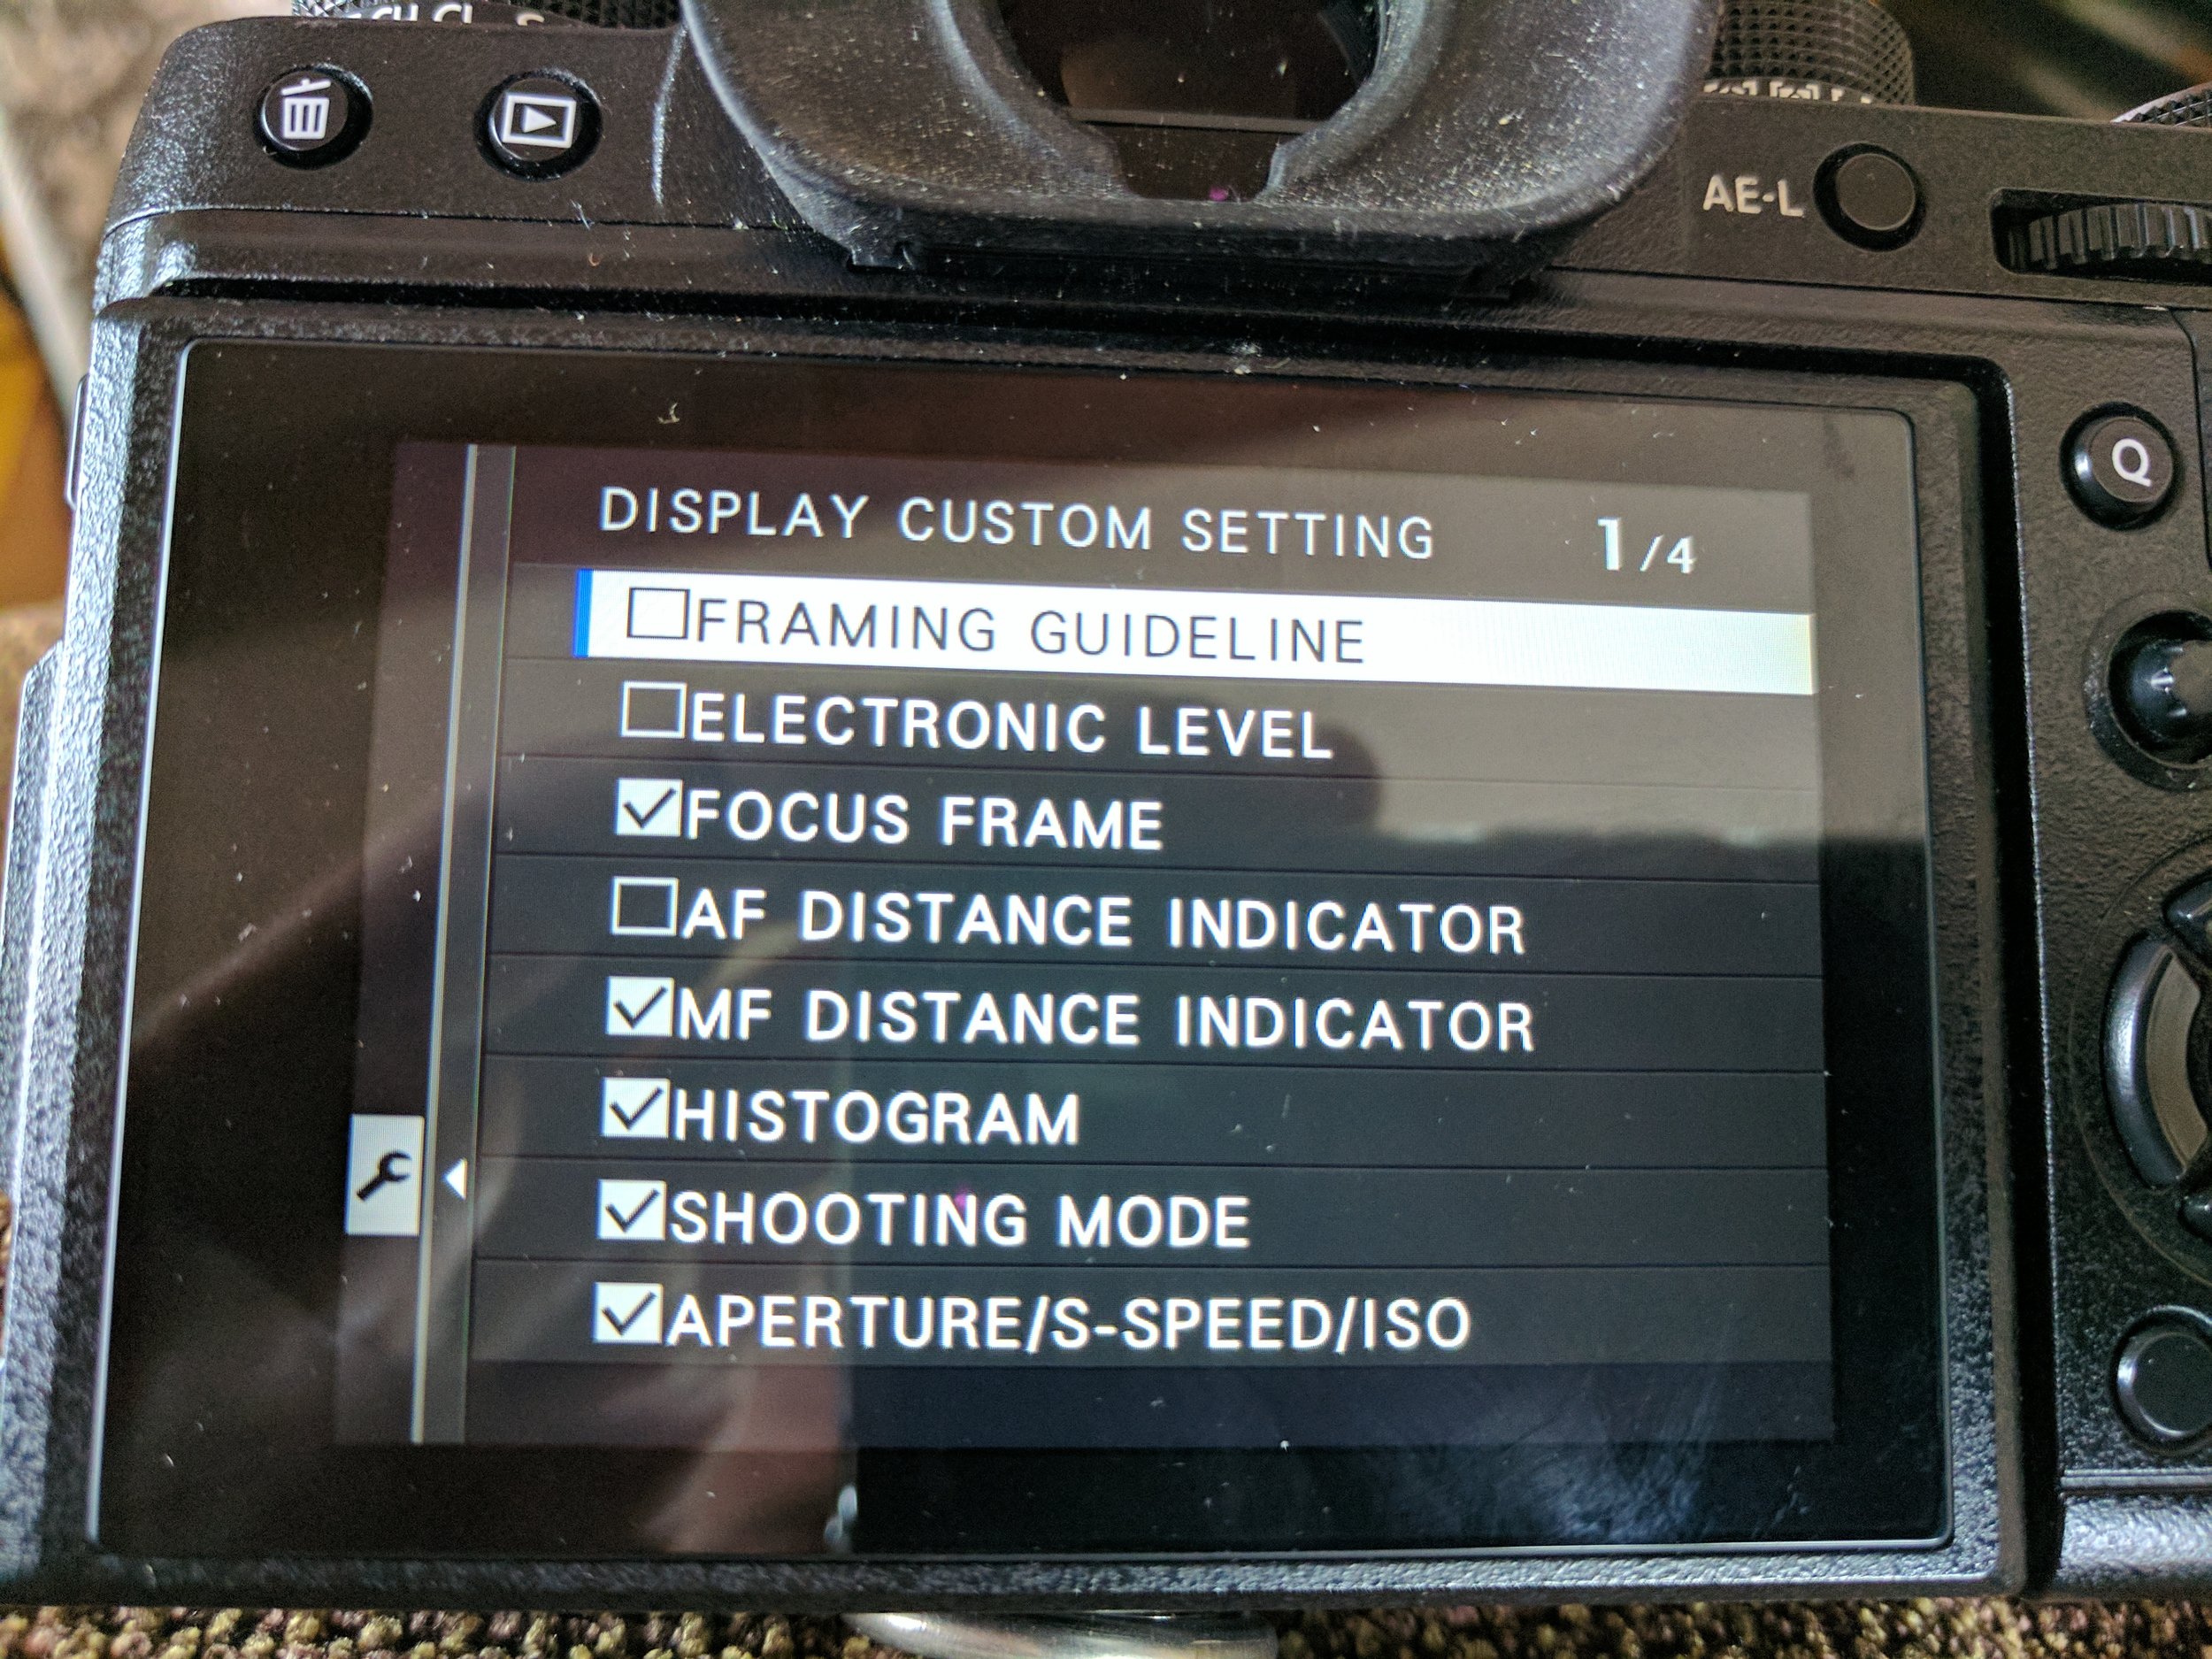
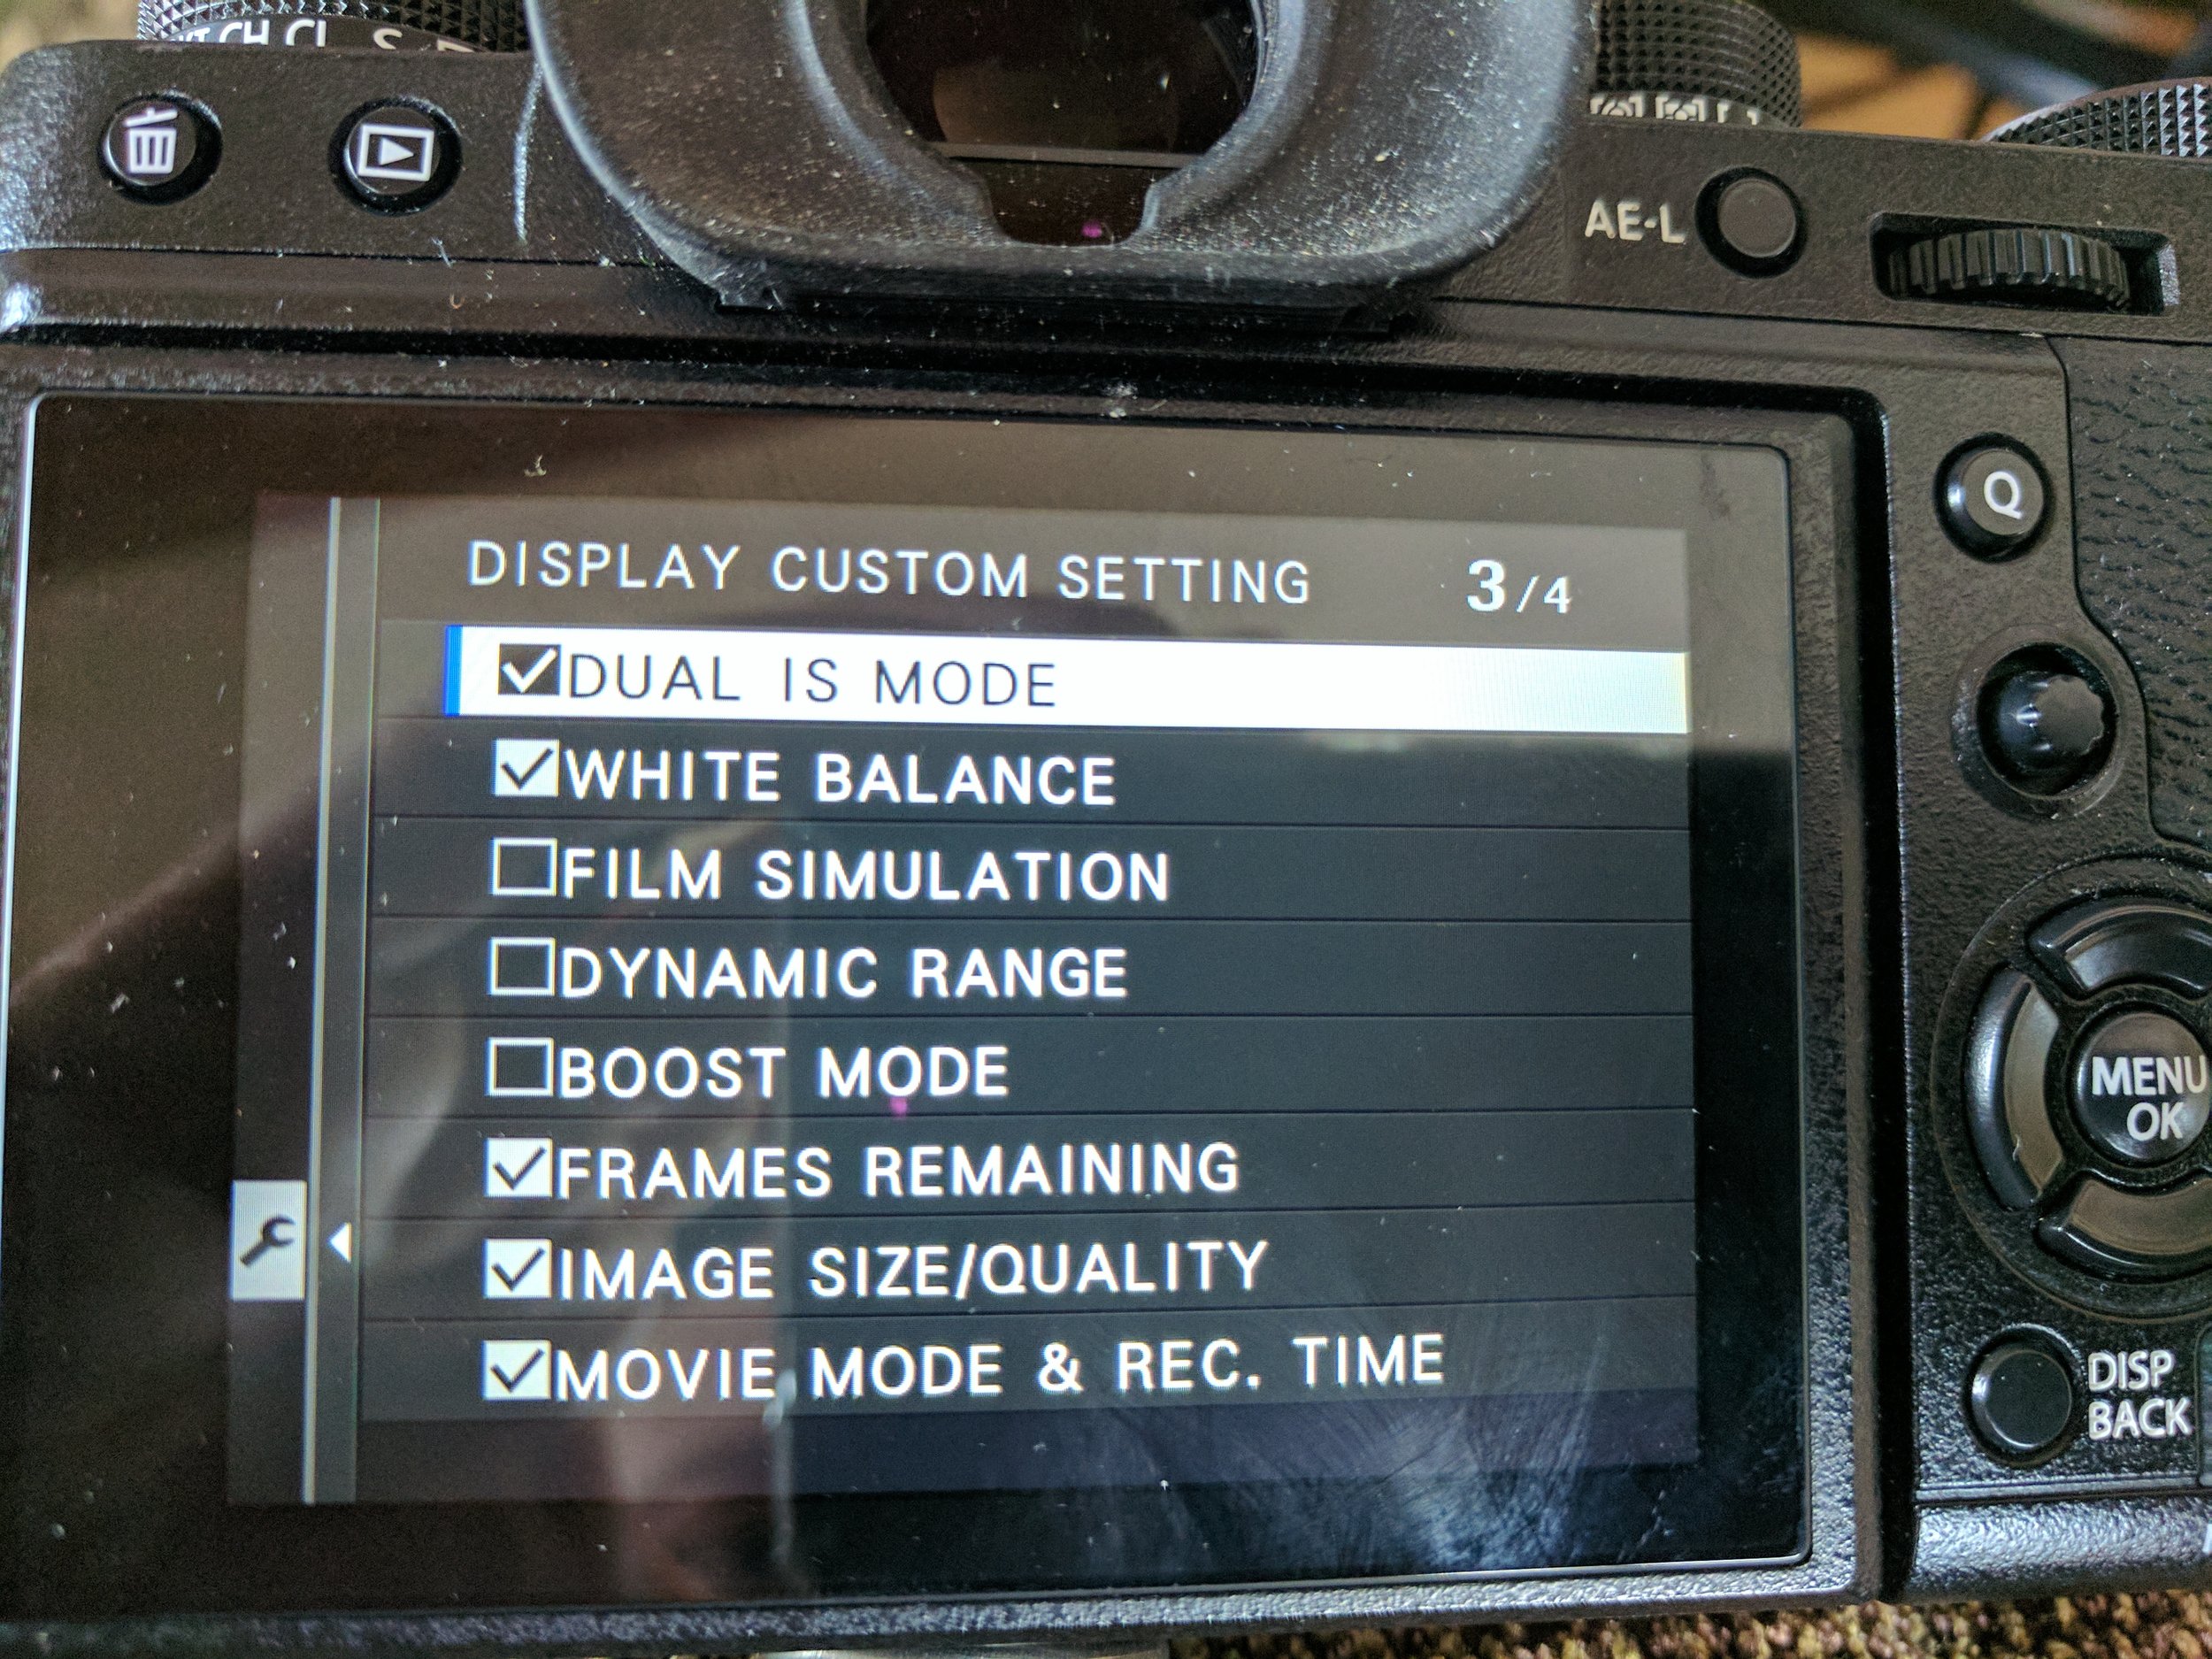
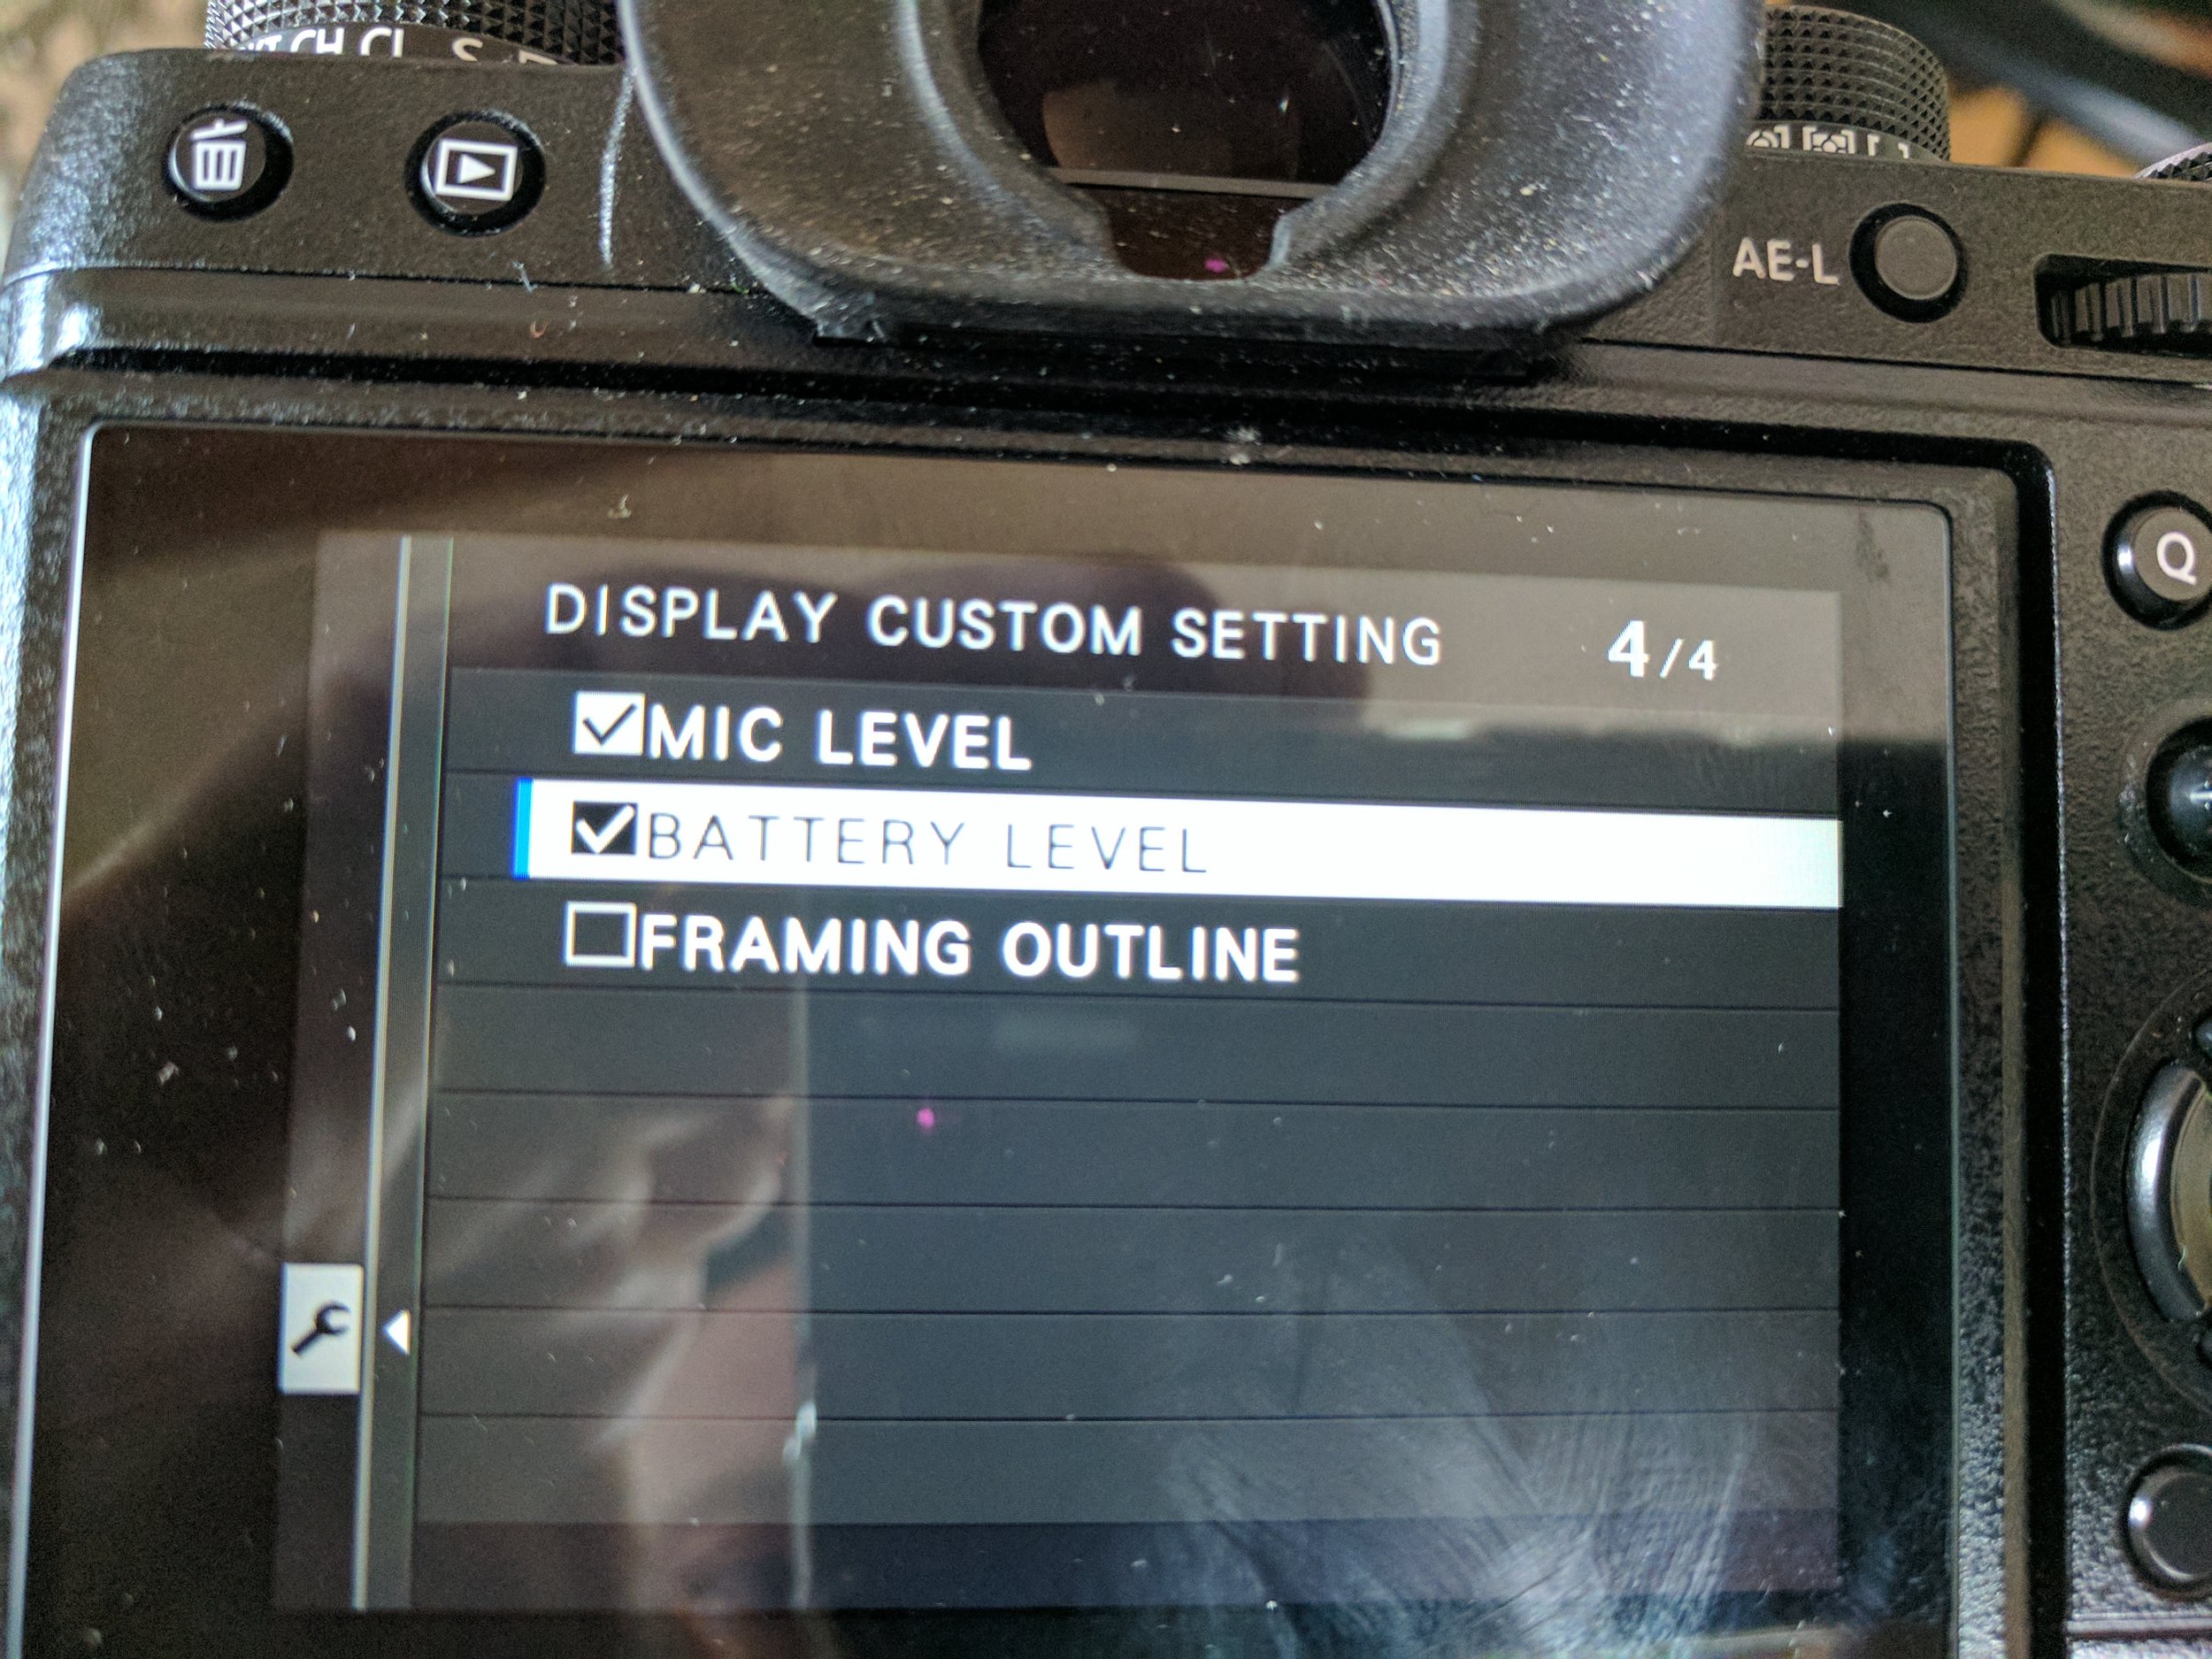
DISPLAY CUSTOM SETTINGS:
These are the ones that I find useful to have in my display.

Miscellaneous Important Settings:
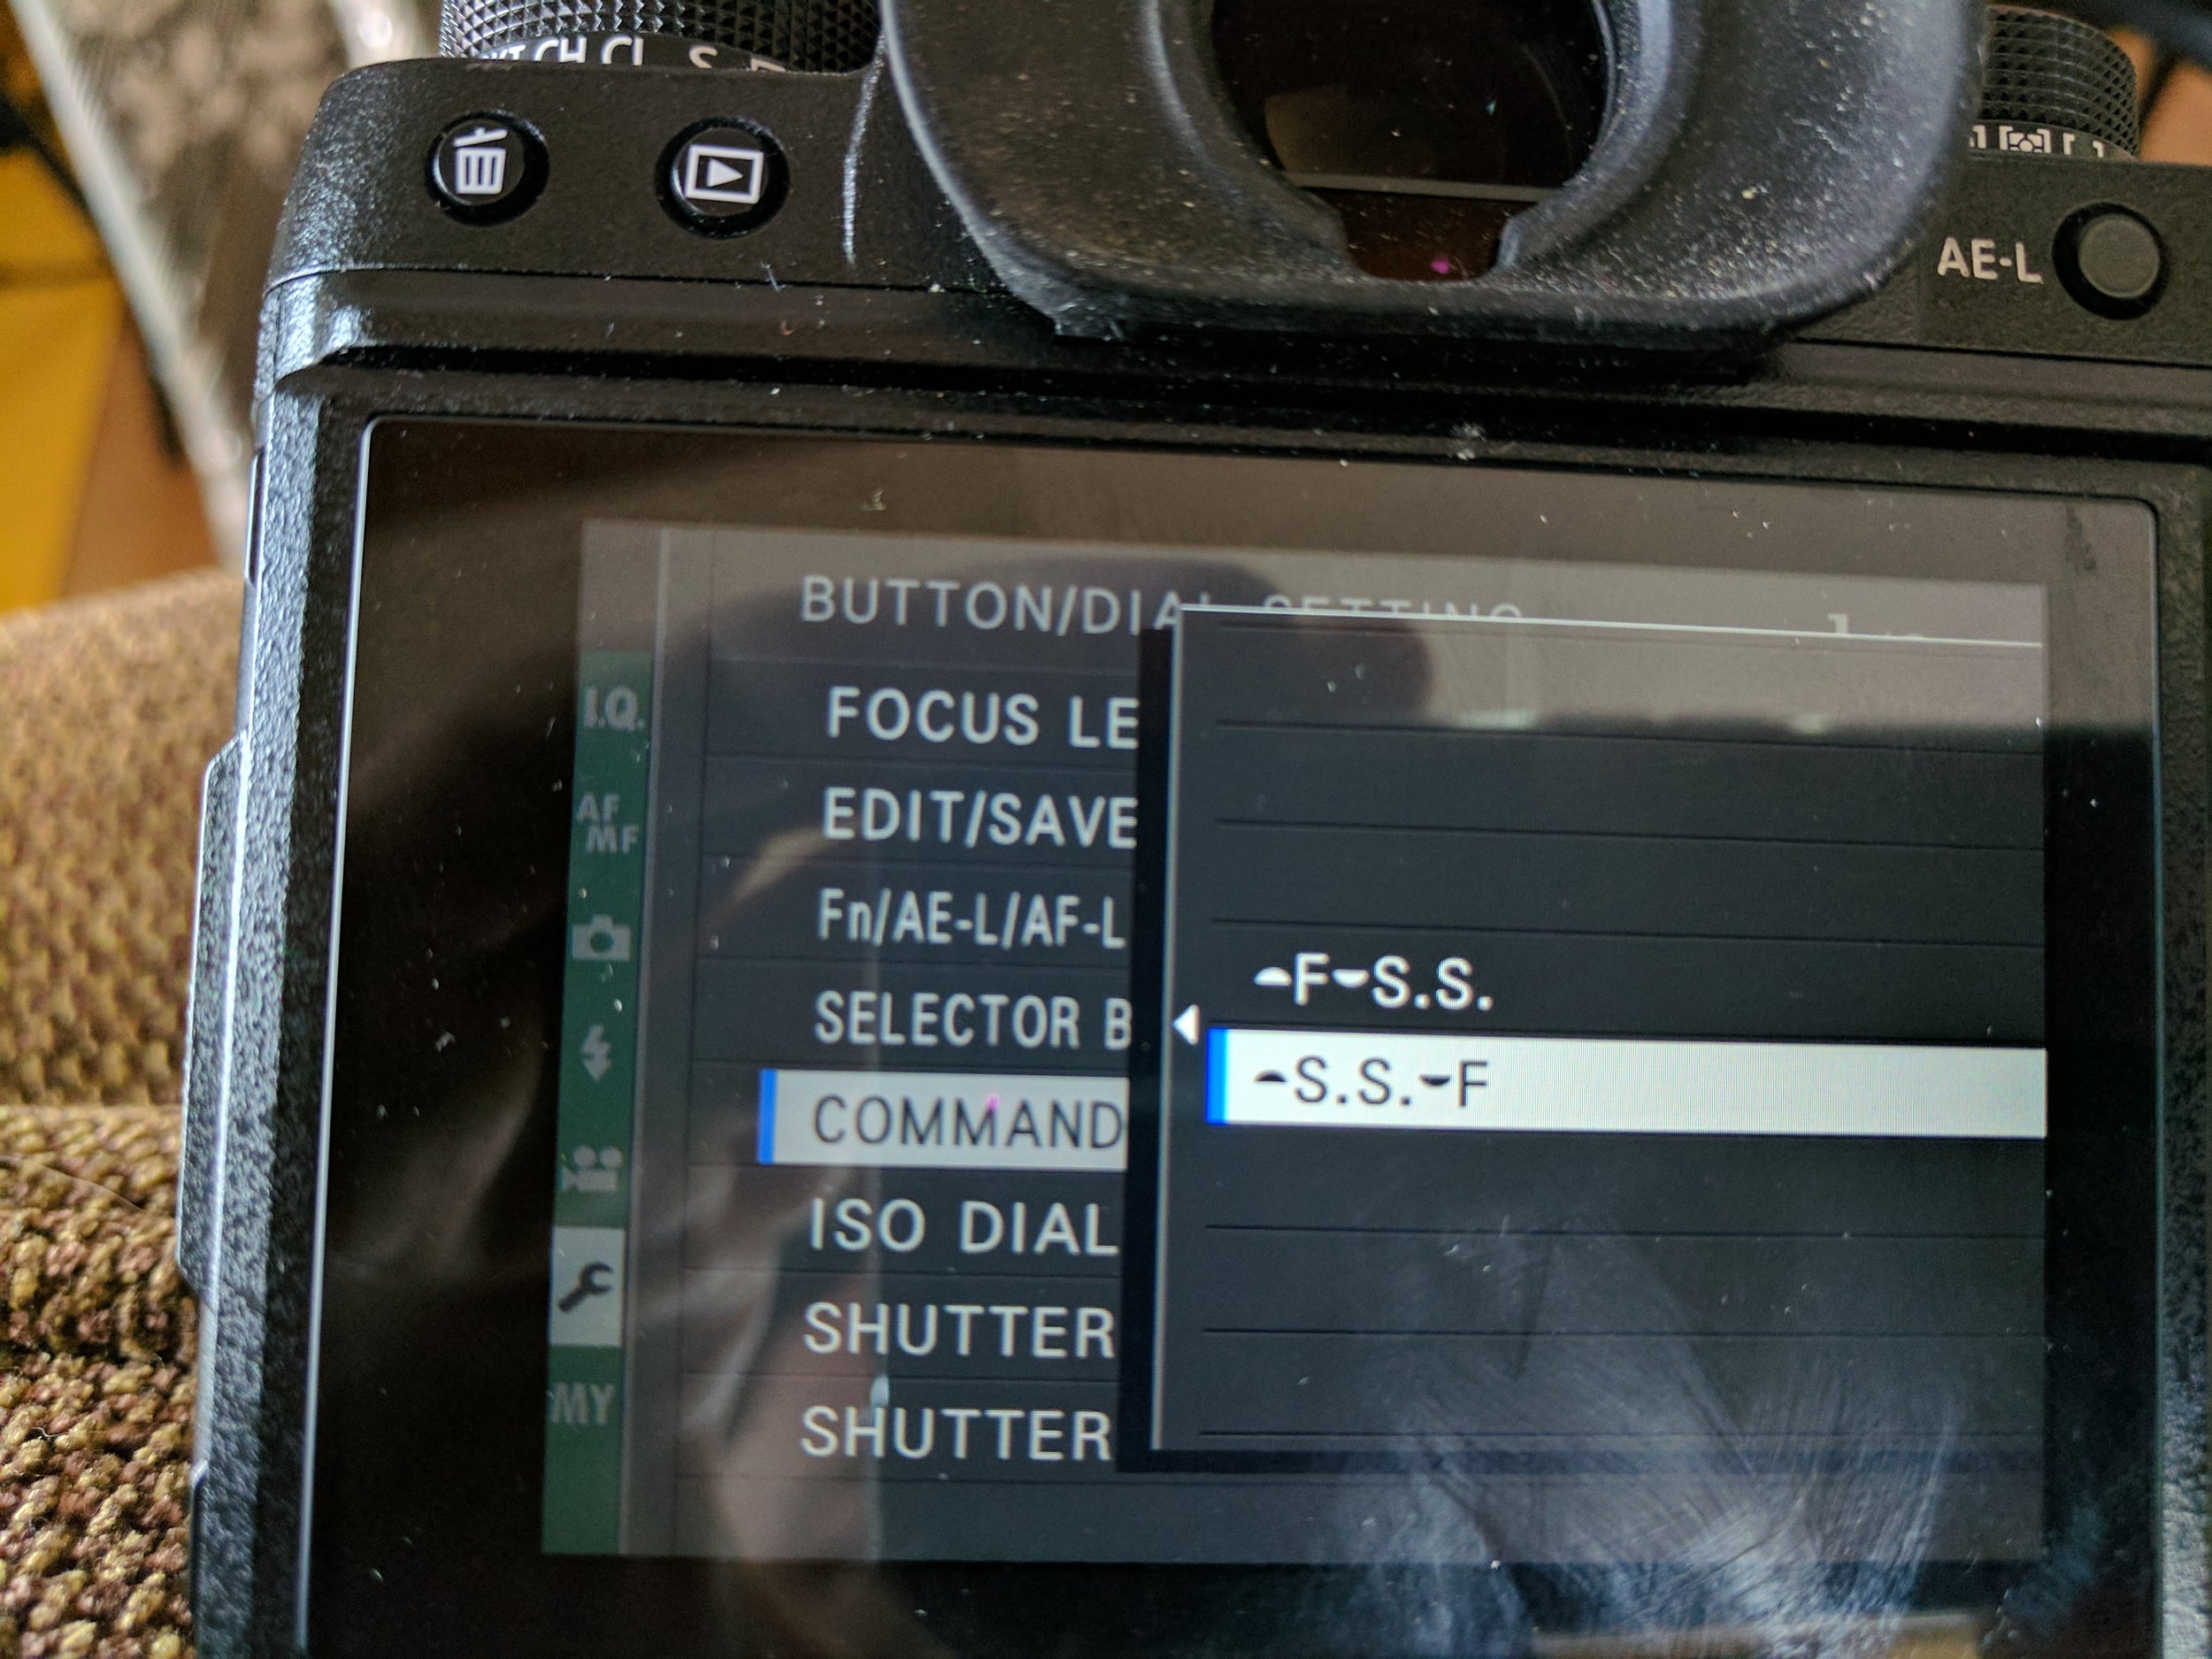
One thing that drove me nuts at first with this camera was how easily I was knocking the shutter speed to a different setting. I found it’s because my thumb often rolls over the rear command dial and moves it. While I was used to having shutter speed on the rear command dial and aperture on the front, it’s not necessary with the X-T2 since the aperture is on the lens. I flipped the command dials to have shutter speed on the front and it’s been a great fix.
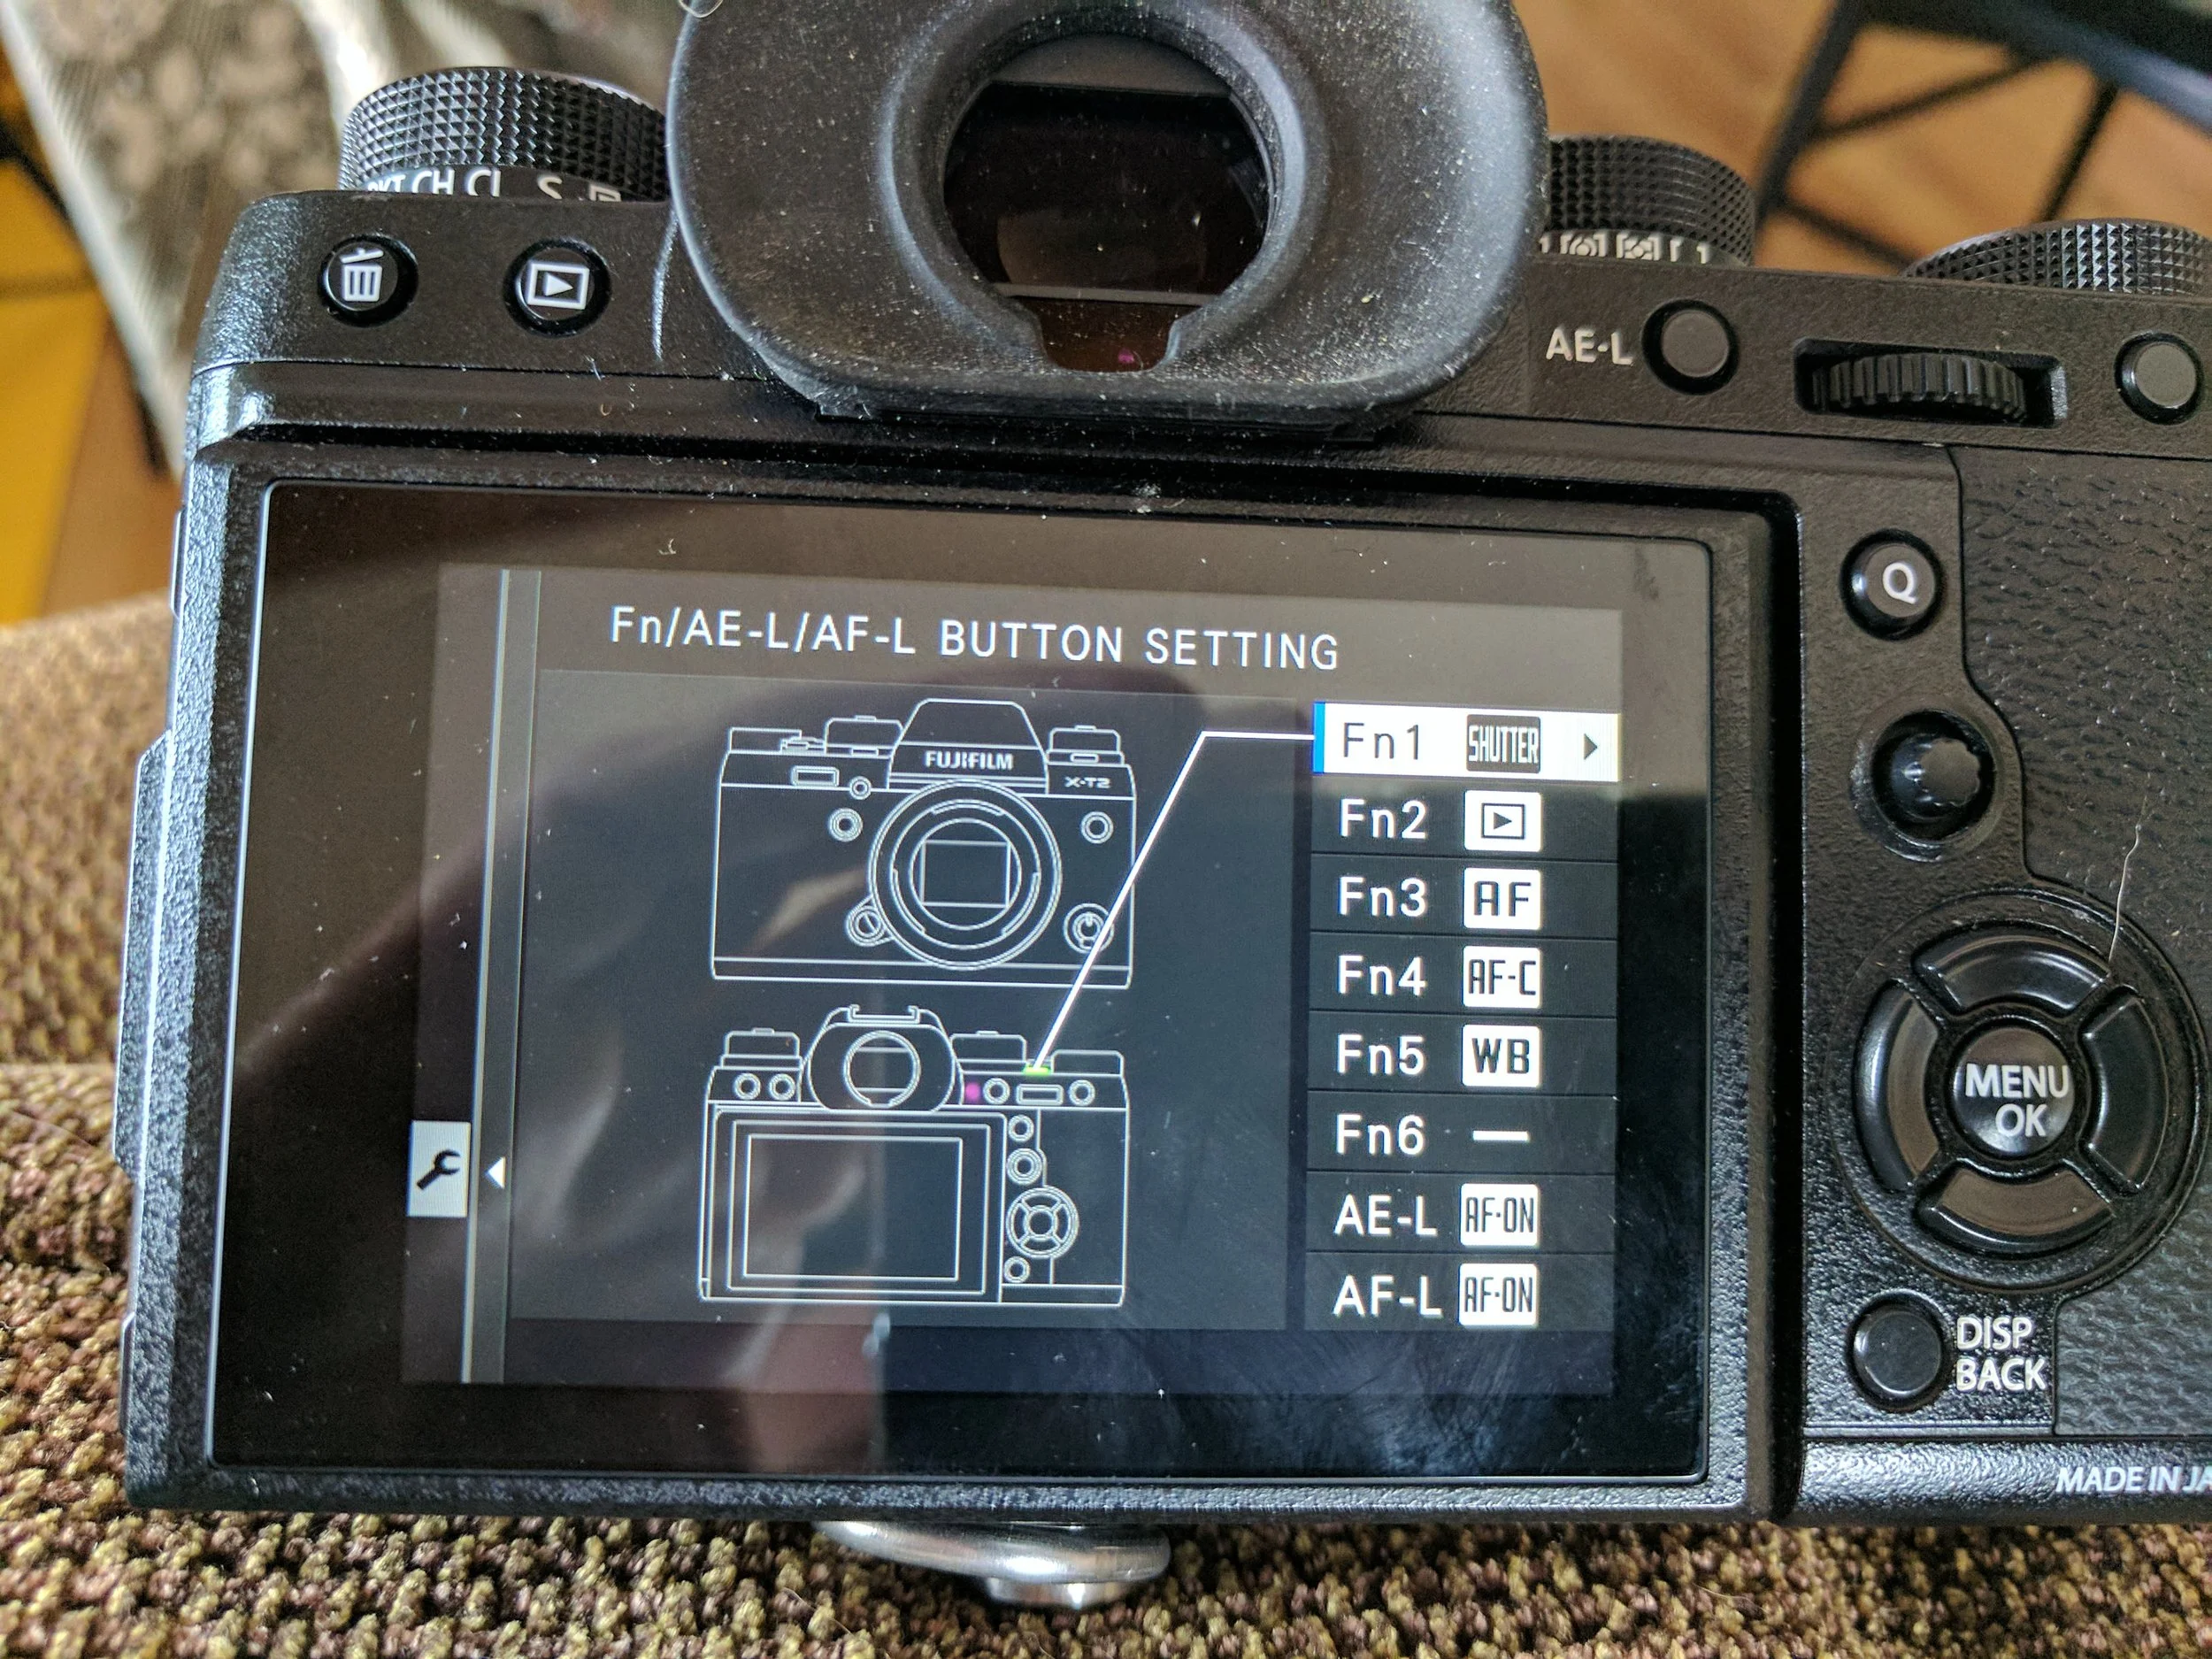
Setting these custom buttons makes a world of difference in using the X-T2.
Fn2 - Playback. This allows me to easily review photos while holding the camera one handed and not have to use my other hand to press the button in the top left.
Fn3 - AF Mode. I often change AF mode based on what I’m shooting.
Fn4 - AF-C Custom Settings. These need to be selected based on subject when shooting in continuous.
Fn5 - White Balance. Quick access to WB is obvious.